
Looks Like Butt
The weather has been pretty crappy the last couple of days, so I decided to try and get a little more stuff done to the interior of the 98, because...Lord. It needs help.
 |
| Dumpster Fire, 1 Each |
 |
| Embrace The Horror |
Previously I had gone through some of the wiring and had generally "unfu**ed" a lot of things and cobbled together one "good" center console out of two other consoles.
Today I decided to tackle some items that would have more of a visual impact towards getting this thing, looking like a car again.
Today I decided to tackle some items that would have more of a visual impact towards getting this thing, looking like a car again.
Ejecto Seato, Cuz..
The previous owner had removed the part of the carpet on the Passenger Side of the car for some reason, and left a bit of a mess with some spilled oil as well.
I had sourced a used replacement carpet from someone parting their car out, and with the interior mostly torn apart, it seemed like a good time to install this stuff.
First step, remove the seats. Which would be easy enough if the Driver's Seat wasn't a Power Seat, and I had a Battery in the car.
First step, remove the seats. Which would be easy enough if the Driver's Seat wasn't a Power Seat, and I had a Battery in the car.
The Factory Service Manual outlined a procedure for removing the Drive Motor for the Power Seat from the rails, which would allow you to manually move the seat back and forth to access the mounting fasteners.
The Drive Mounts are located under the front of the Driver's Seat and consist of two small 4 mm Allen Head Bolts on the Feft and Right Hand side of the seat. Remove the bolts and you can now pop the ends of the Drive Motor off of the splined shafts that allow the Seat to move on the rails. You can now move the seat Fore and Aft to access the 14 mm nuts and bolts securing the seat to the floor of the car. The Passenger Side Seat is a conventional seat and can be easily removed by loosening the same fasteners on the Passenger Side.
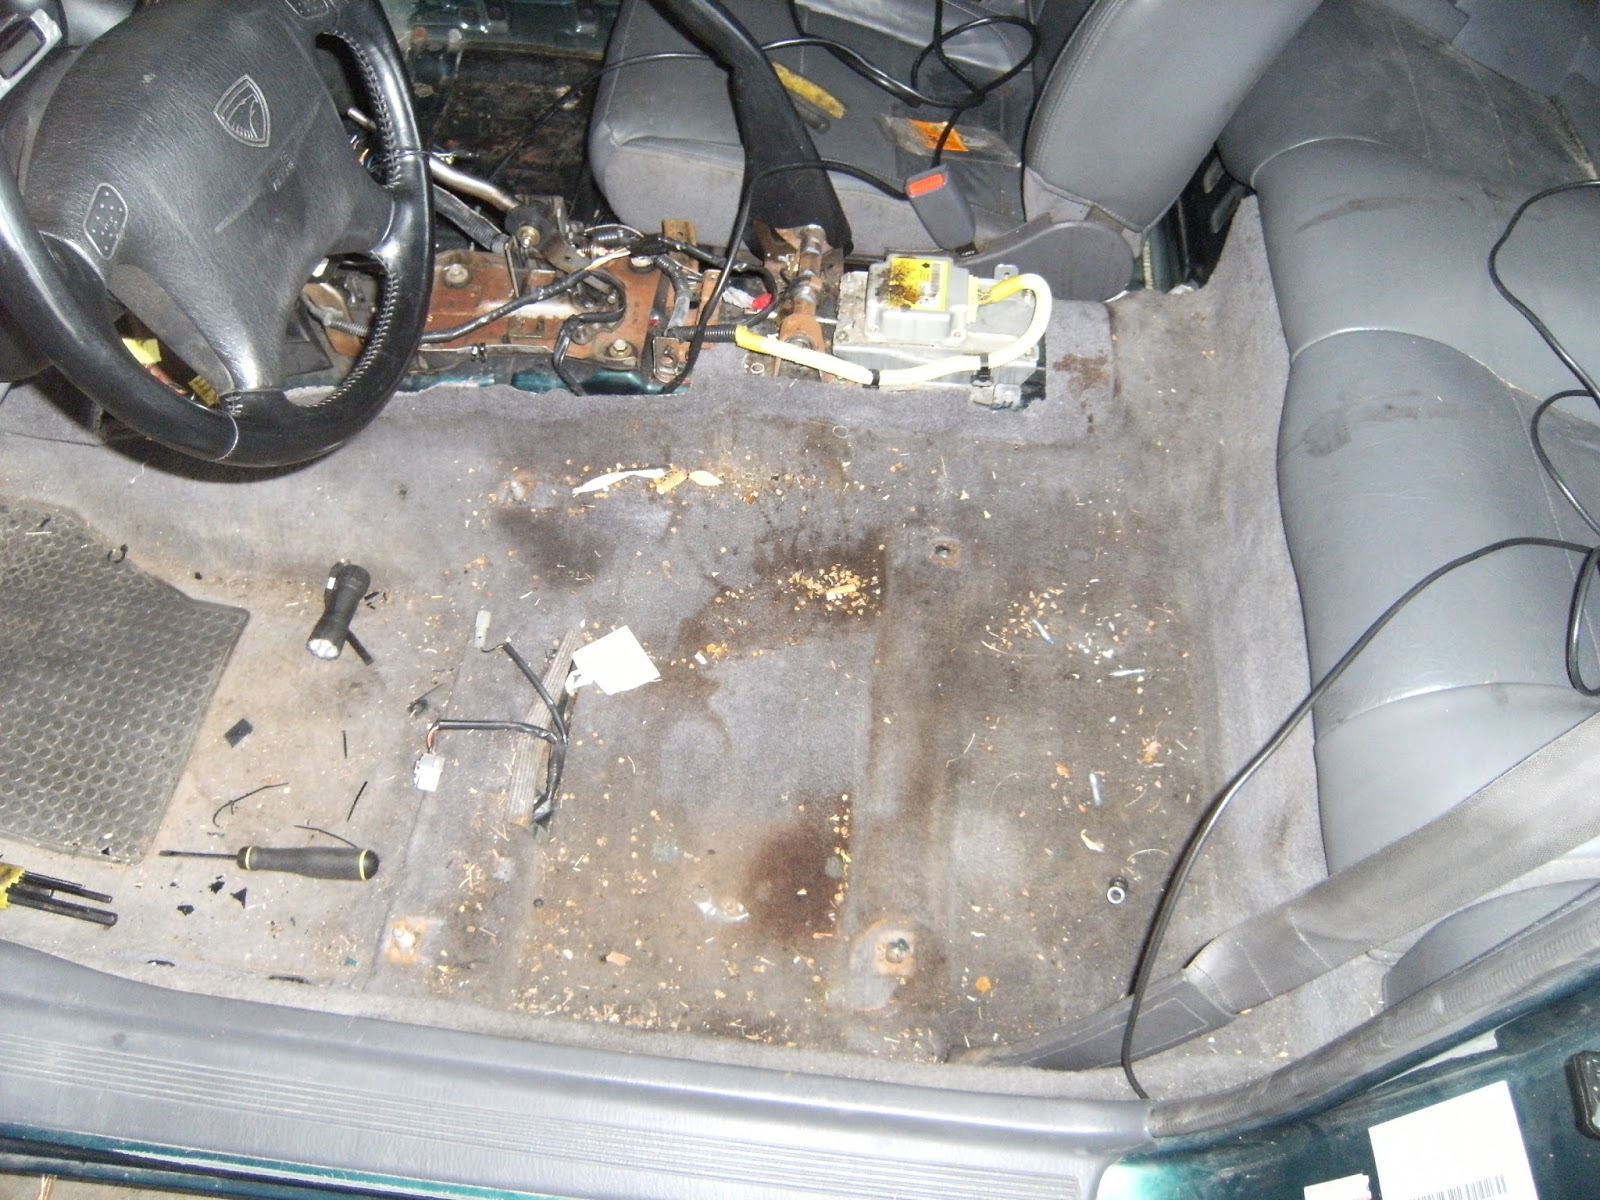 |
| Yeah, That's Kind Of Gross |
Wall To Wall Carpeting
With the seats out, removing the carpet is fairly easy.
The Sill Plates on the Driver and Passenger sides are pressed into place with snap clips for retention. Simply pry up carefully, and the snap clips should release.
The Lever Arms for the Hatch Release and Fuel Door Release are on the Driver's Side. Two Phillips Head Screws hold the plastic Trim Cover in place, and this piece needs to be removed.
The Dead Pedal on the Driver's Side need to come out. On my car there was only one bolt holding it in place under one of two Trim Covers on the Dead Pedal. Once cover can be unscrewed and the other one pops out with a small Flat Tip Screwdriver. A 10 mm Bolt holds the pedal in place.
The bottom bolts of the Front Seat Belts needs to be removed from the lower Door Sill on both sides of the car. A 19 mm Socket will do the job.
The rear of the carpet goes under the Rear Seat Cushion and loops around the latched the hold the Rear Seat Bottom in place. On some cars there may be various other Clips or Fasteners that need to be removed before the Carpet can come out.
Once the old remnants of the original Carpet were removed, the replacement carpet was laid down and tucked into place. The Carpet goes under the lower B-Pilla Trim Pieces, so some slight disassembly may be required. Once everything is tucked into place, go ahead reinstall everything that was removed previously.
Whoops...Forgot Something
Since I planned on using the Factory Amplifier for the Stereo System in the car, I needed to reinstall the Amp before the Passenger Seat went into the car.
The Amp is mounted to a Bracket that slides into two preformed slots under the Passenger Seat along with two Phillips Head Screws. The Wiring for the Amp pokes through the carpet, and plugs into the side of the Amp.
 |
| Wooh...Infinity Sound. |
Now the stupid Seats can go back in.
All Done
A quick vacuum on the Carpet and Seats, and it looks a ton better. My Center Console is ready to go in, just waiting for the paint to dry on a part.
 |
| Seats Need Cleaning |
 |
| I Can't Wait For This Thing To Run Again |
It's finally starting to look like a car again.
Alpha, Mike, Foxtrot.....
No comments:
Post a Comment